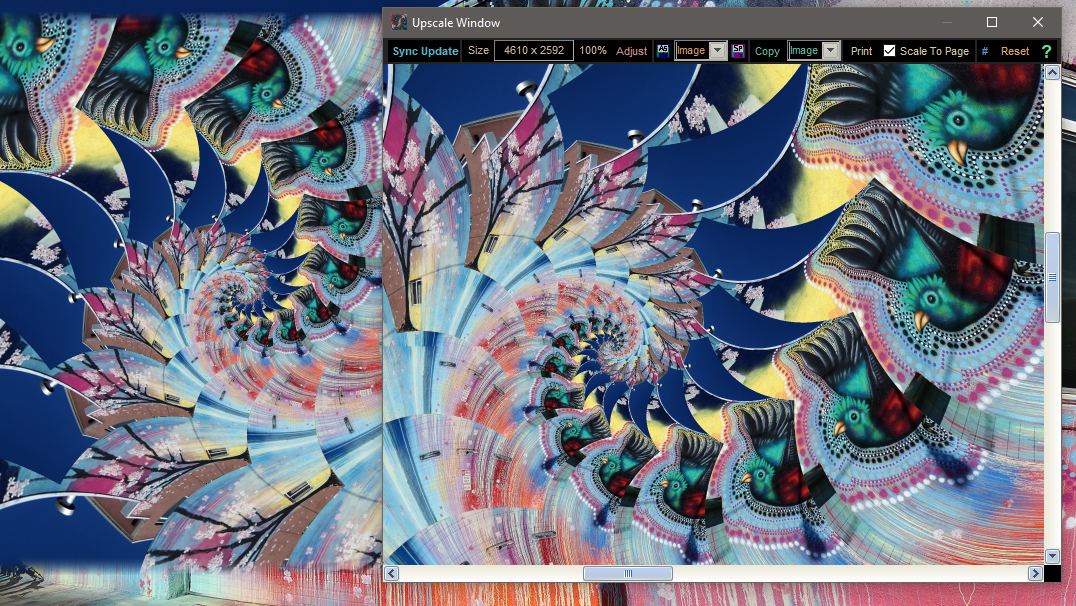

 which would rescale at the exact resolution
of the source image. Click the Adjust button to recalculate the
Size. The Scaling Percentage can be adjusted from 10% (a tenth
of the original image scale) to 200% (double the original image scale). Click
Update to re-render the image at the adjusted Scaling Percentage.
It should be mentioned that the resulting image quality will tend to deteriorate if
the Scaling Percentage is raised much above 100%. To create large, high
quality images it is best to use source images that are as large as possible.
Press the Save As (As) button to save the current Image
or Tile. Click Sp to access the Save With Special Options screen, which provides additional
choices for saving Scaled images. The Copy button stores the
current Image or Tile (if applicable) onto the clipboard so that
it can be pasted into other graphics programs. The Print button will
show the standard Print dialog for your printer. If the Scale To Page
option is set, the printed image will be scaled to fit the configured paper
size. Otherwise, the image would be printed according to the printer's DPI
(which might appear rather small, since a printer's DPI is typically much higher
than a screen's DPI). The # button will Sharpen the image
(Sharpen would also be performed as part of the Sync Update process
if it had been applied in the main Liquib window.)